

So, originally I had planned on making two identical sourdough loaves using these two different techniques, but as per usual that’s not how it ended up. So instead, I’ll share what I did, how I messed up, and the end result of both.
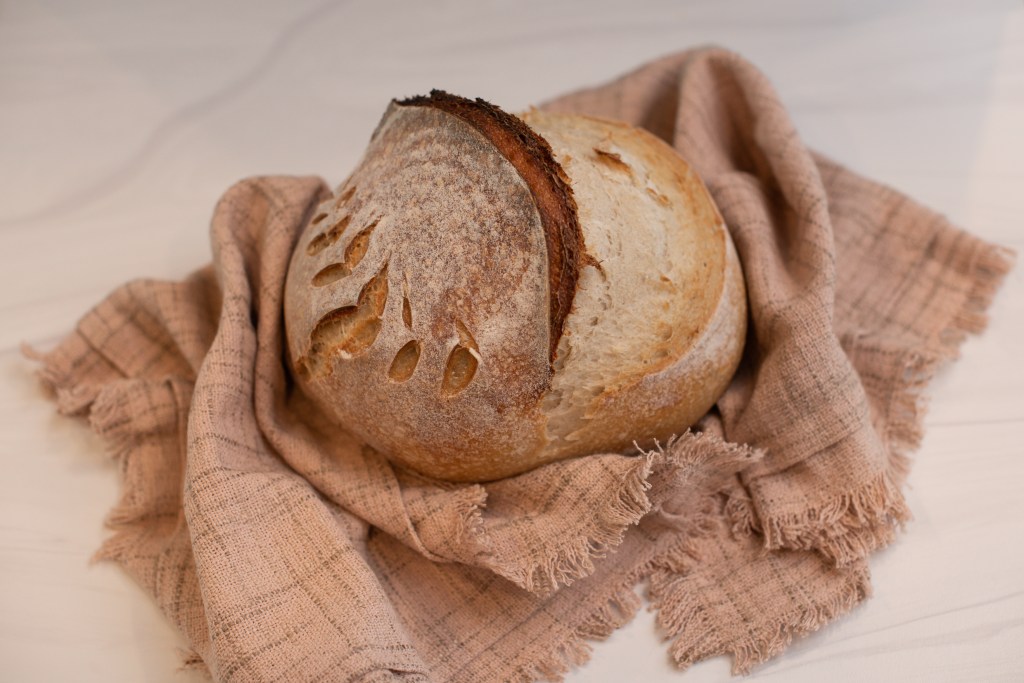
Artisan sourdough is a fermented bread, made in a dutch oven, using just flour, water, sourdough starter, and salt. It is wonderfully crusty on the outside and light and chewy on the inside, and when served warm with butter it just cannot be beat. Sourdough is loaded with benefits…it’s easier to digest, the nutrients are better absorbed, and the fermenting process helps lower the amount of gluten present, making it easier to digest.
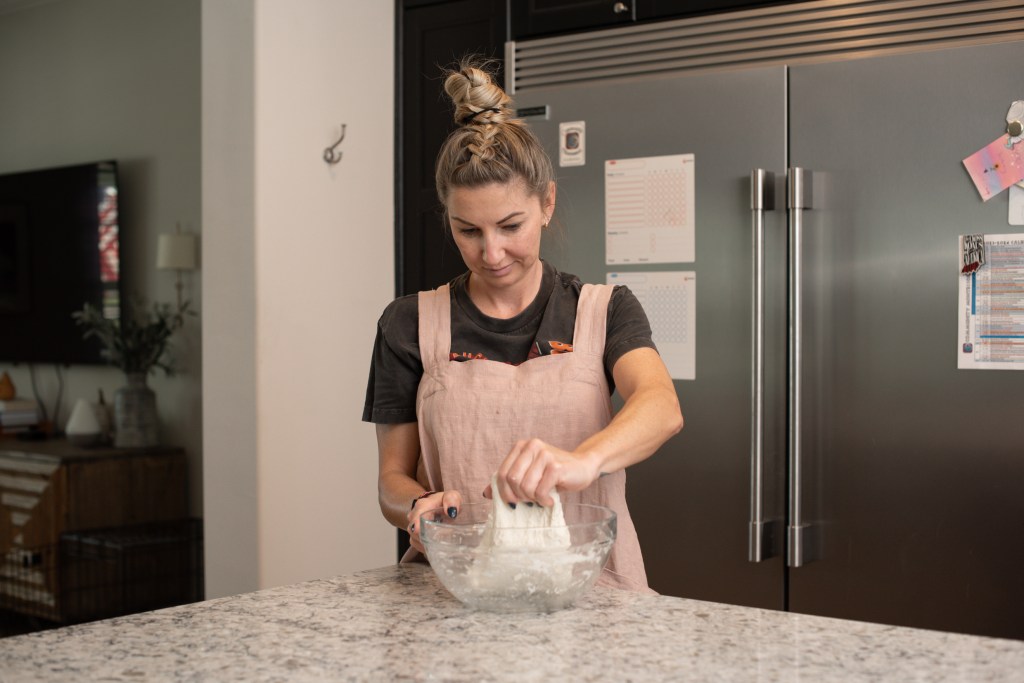
Until now I have always used the stretch an fold method of kneading my sourdough loaves. The first three stretch and folds are done every 15 minutes, and the last three are done 30 minutes apart. I recently saw online (a Farmhouse on Boone recipe) that all of this can be simplified by just using a stand mixer, and so I had to try it out. So step one was getting all the ingredients into the stand mixer at the same time (I will share the recipe I used down at the bottom). I realized after I got everything in the mixer that I used the wrong flour, but I didn’t want to waste it, so I decided I would see what happens.
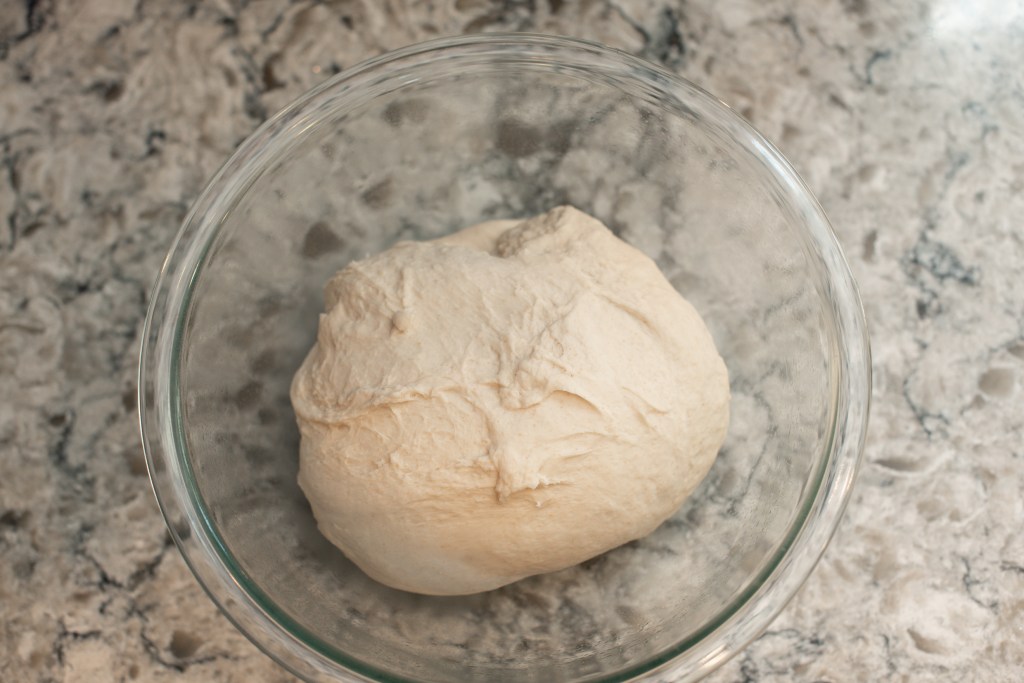
Once everything is in the mixer, you essentially just let it run with the dough hook for about 10 minutes (according to the recipe I used) until your dough passes the windowpane test. The windowpane test is where you take a small amount of dough and stretch it between your fingers until it can be stretched thin enough for light to pass through it without breaking. For whatever reason, this took me closer to 30 minutes to achieve. Your dough should be nice and stretchy at this point. Then you take your nice little dough ball and put it in a large oiled bowl, cover it with plastic wrap, and let it rise anywhere from 8 to 24 hours. Depending on the temperature in your house, it make take longer, but as long as it doubles in size, you’re good.
So for the second loaf that I intended on doing the stretch and folds for, I miscalculated the amount of starter I needed, so I was a bit short. Again, not wanting to waste it, I decided to go ahead with it and see what happens. This is what the dough looked like after the first stretch and fold. Notice that it isn’t nearly as smooth as the stand-mixer loaf.

So when you stretch and fold, the dough stays pretty shaggy looking (at least for me) until the last of your folds.
Once I got through all the folding with this one, I covered it with plastic wrap and let it sit. Since the plan was for the second rise to happen over night, I started all of this earlier on in the day.
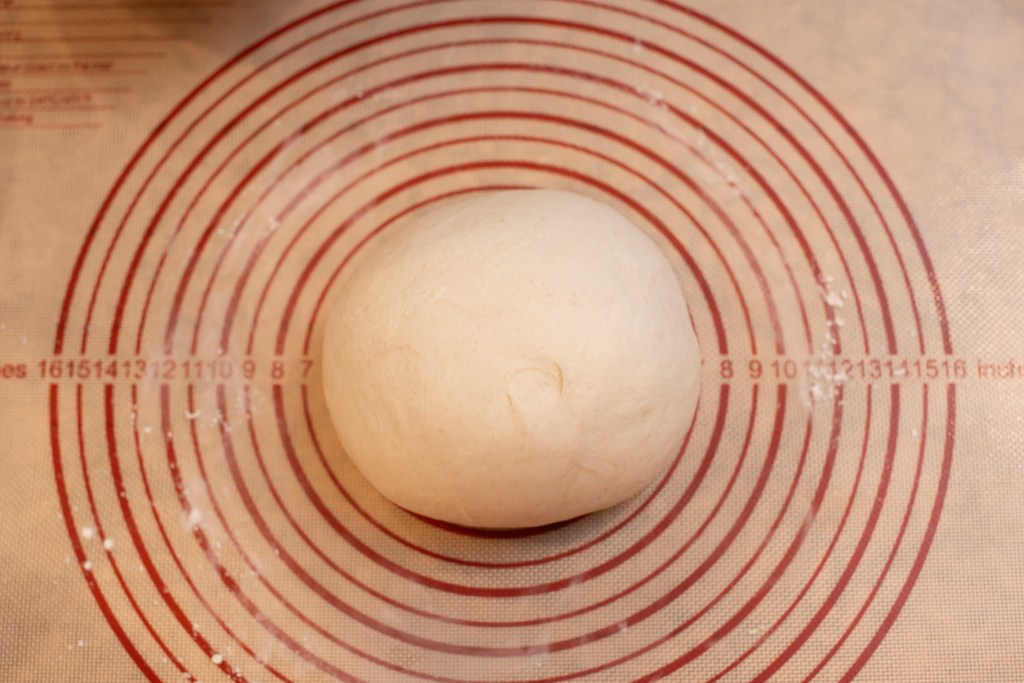
Once the dough rises to where you want it, you punch it down and pour it out onto a floured surface to shape it into a round ball. To do this, you spin the dough towards you while pulling it against the counter, essentially tucking it in on itself. Then flip the loaf over and pull the edges together to create tension. Put the dough ball in a banneton basket seam side up. Allow this to rise a second time, about two hours on the counter or about 12 hours in the refrigerator (which is what I did).
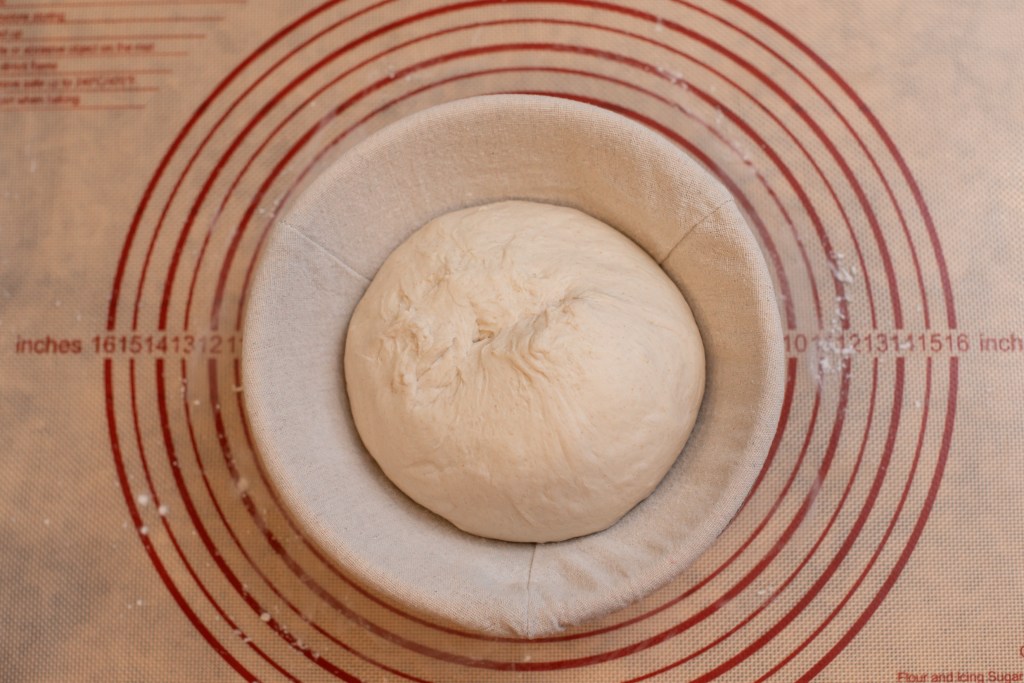
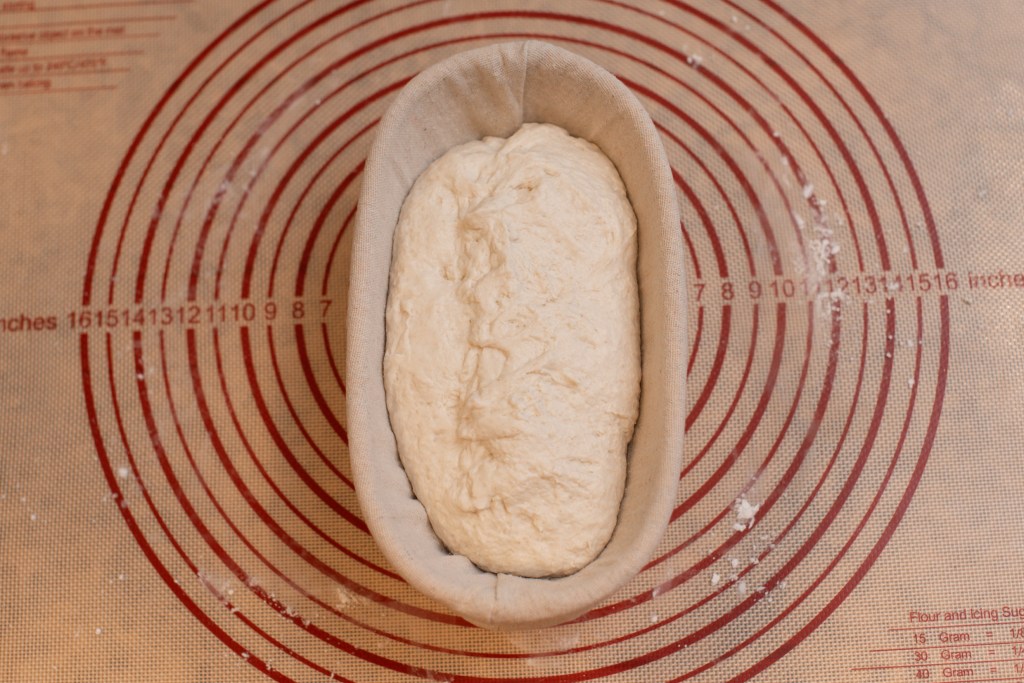
The round loaf is the stand mixer loaf and the oval loaf is my stretch and fold loaf. I took the banneton baskets and wrapped them very tightly in plastic wrap and placed them in the refrigerator over night for the second rise. In my opinion, the loaves are easier to score when they are cold, so I like to refrigerate them for the second rise.
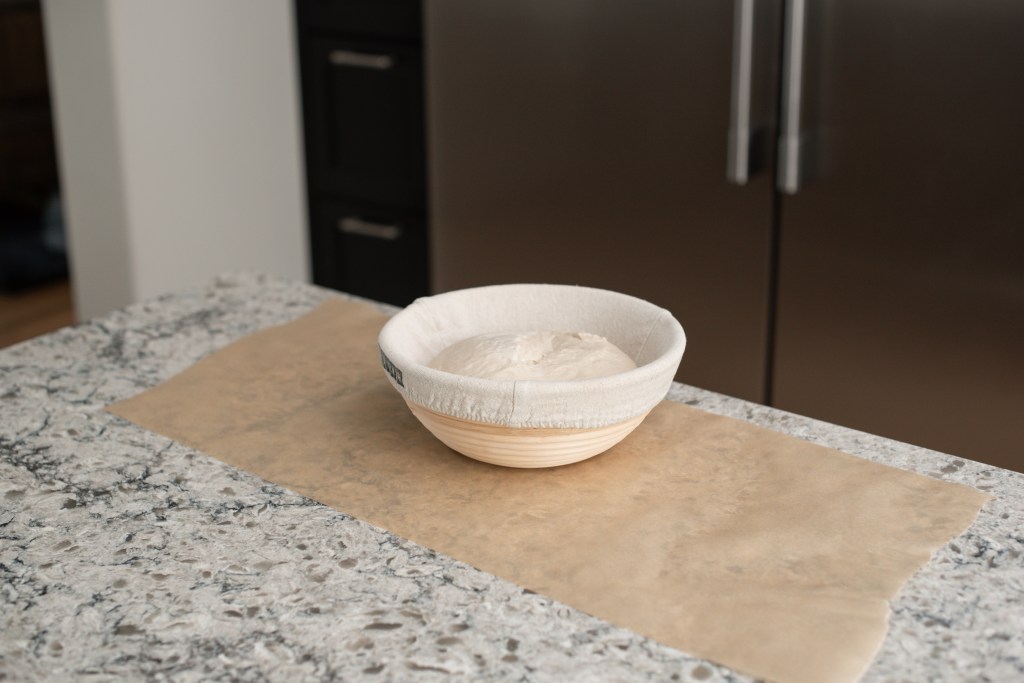
The next morning, I preheated my oven to 500 degrees with the dutch oven inside. The goal is to allow everything to preheat for an hour, but on this day I only preheated for like 45 minutes. To be honest, I think an hour may be overkill.
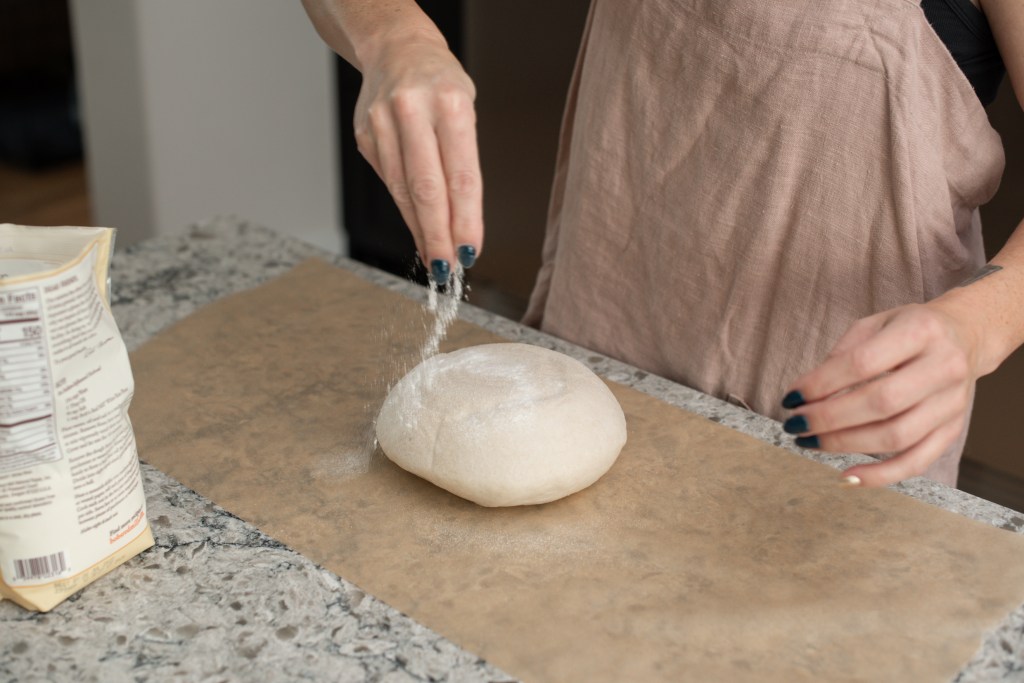
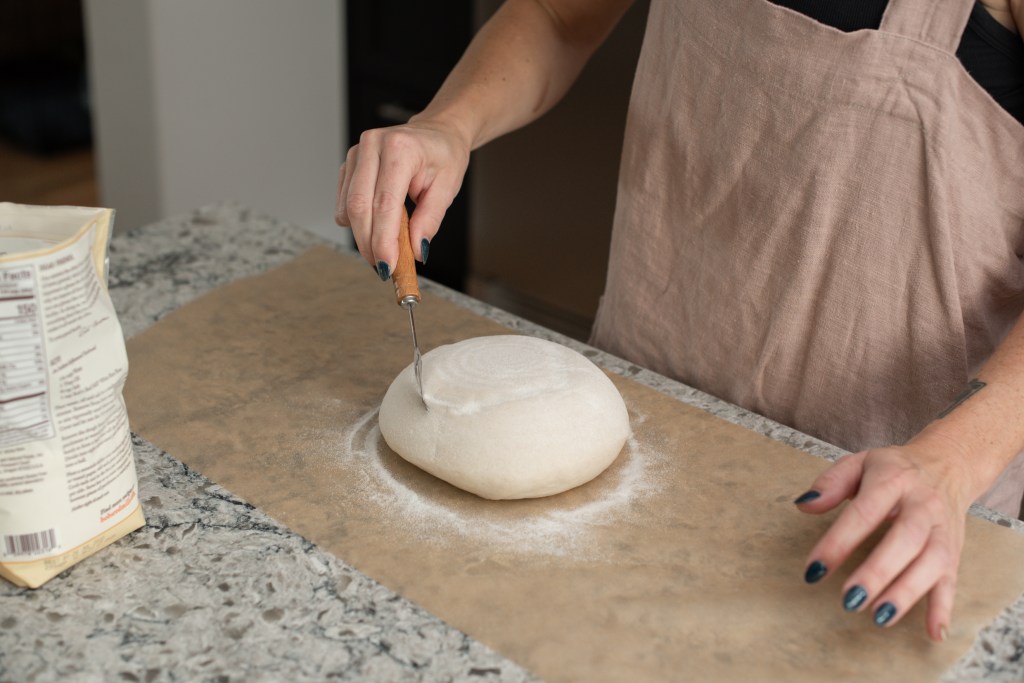
When I was ready, I turned the dough out onto parchment paper and dusted with white rice flour. I like to use rice flour for this step because it doesn’t turn brown and scorch during baking. Once its dusted, then you can score the bread.
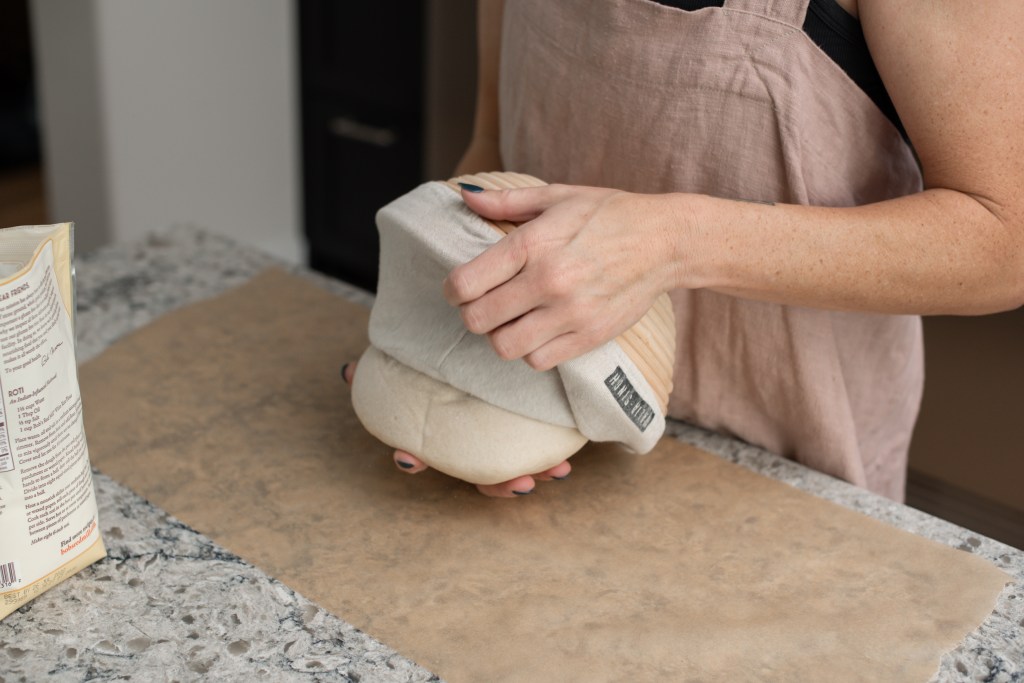

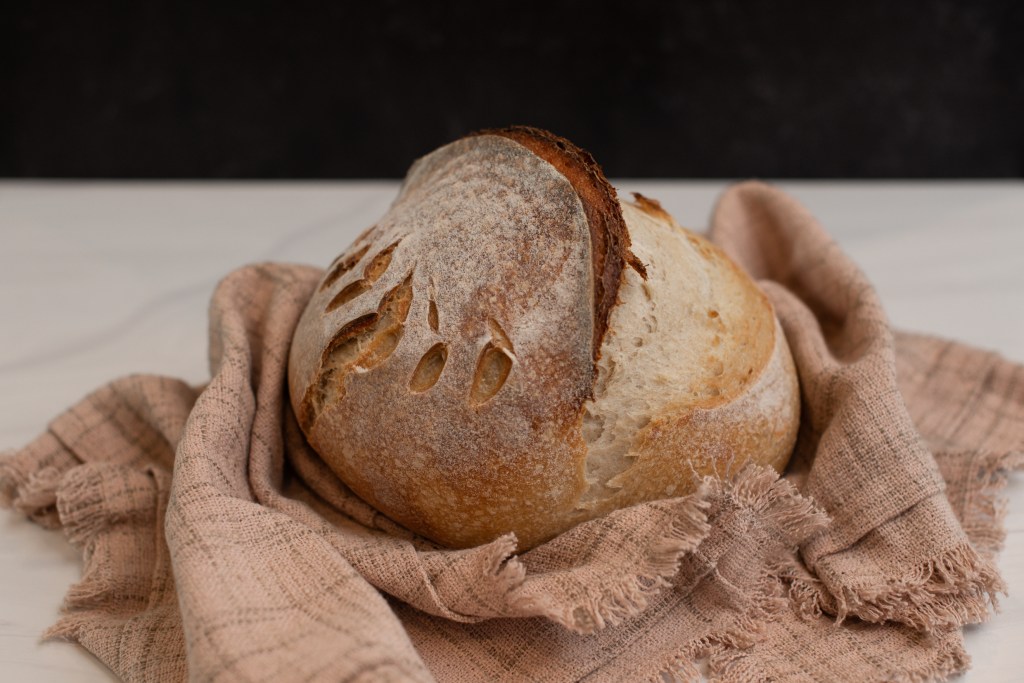
When you’re happy with your scoring pattern, take the dutch oven out of the oven and lift the loaf into it with the parchment paper. Then return to the oven and bake for 20 minutes with the lid on, and then reduce the temperature to 450 degrees and bake 30 minutes with the lid off. This was the end result of the stand-mixer loaf…
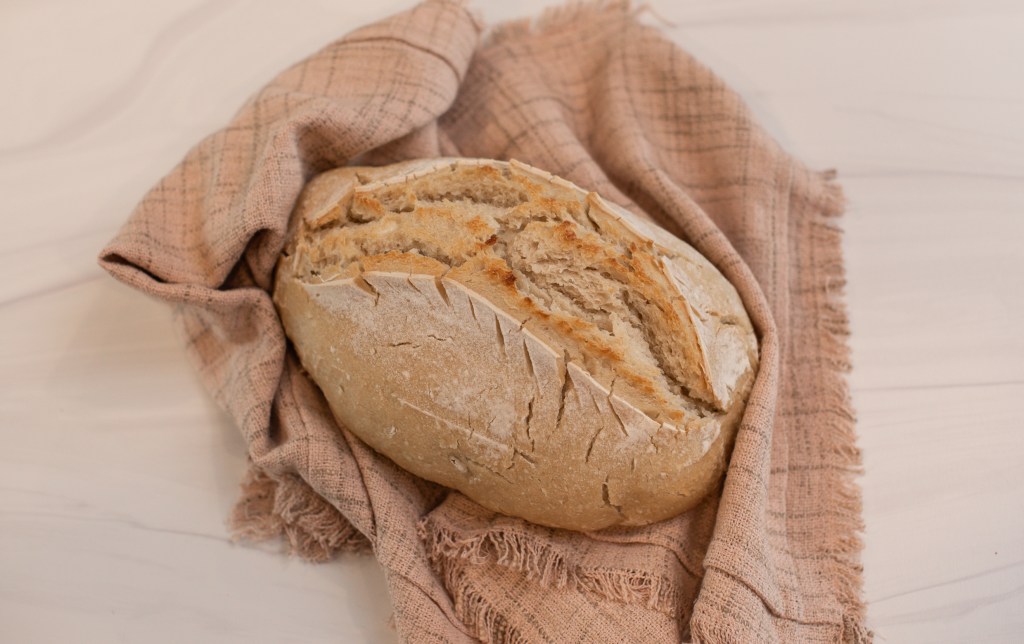
The stretch and fold loaf didn’t come out very pretty, but like I said, I didn’t have the right amount of starter so I think that may have had something to do with it. It still tasted good however, so I’m not complaining!
At the end of the day, while I like the therapeutic process of all the stretch and folds, I think I’ll be using the stand-mixer moving forward. It really is a time saver, and time is something I don’t have a lot of these days.
INGREDIENTS
- 1 cup active sourdough starter (fed about 4-6 hours before starting the dough. It needs to have doubled in size)
- 1 1/4 cup filtered water
- 2 teaspoons of salt (I use pink himalayan)
- 4 cups organic all purpose four (I used bread flour on accident and I actually liked it better, so both will work)
INSTRUCTIONS
- Knead all ingredients in a stand mixer for 10 minutes (it actually took 30 for me, so don’t be discouraged if you don’t pass the windowpane test after 10 minutes)
- Place in a large oiled bowl and cover with plastic wrap until it doubles in size (anywhere from 8-24 hours)
- Punch down the dough, shape it, and put it in a banneton basket to rise until doubled (or about 12 hours in the refrigerator over night)
- Preheat oven to 500 degrees with the dutch oven inside for an hour (I did 45 minutes and it was fine)
- Turn the dough out onto parchment and dust with rice flour. Then score.
- Bake for 20 minutes with the lid on, then reduce heat to 450 and bake for 30 minutes with the lid off.
- Viola!
